
Prosthetically Guided Tissue Generation in AoX
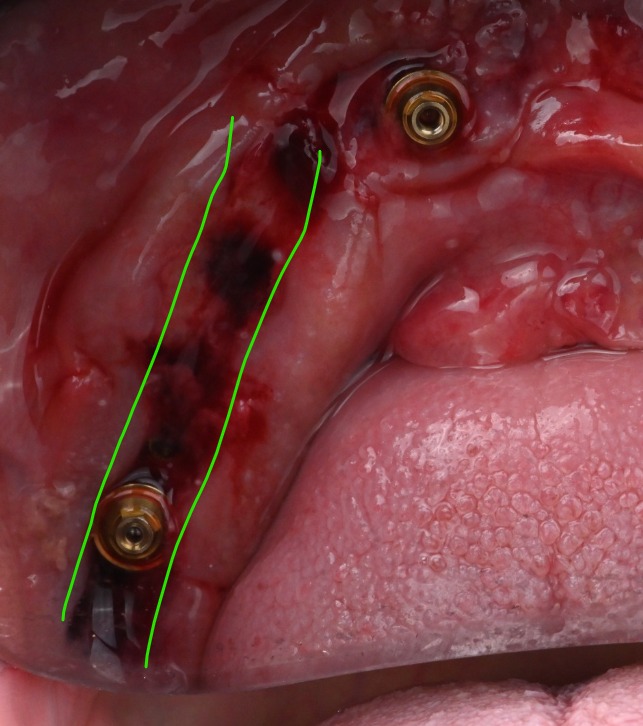
On most All-on-X cases, the remaining keratinized tissue is already limited. The instinct is to seat the provisional tightly against the ridge for support and primary stability — but a tightly seated intaglio leaves that tissue nowhere to go except under the prosthesis, where it gets compressed rather than allowed to mature. Prosthetically Guided Tissue Generation (PGTG) is a design and suturing approach built around the opposite instinct: leave the keratinized tissue somewhere to grow into, instead of somewhere to be trapped by.
This article covers the concept, the chairside timeline that makes it practical, and the suturing method — the Desai Shoelace Suture technique — used to execute it without adding meaningful chair time.
The concept: guide the space, not just the fit
Guided bone regeneration and ridge-split techniques work on the same underlying principle: bone fills the space it’s given, provided that space is protected and the environment is right. Soft tissue behaves the same way. Keratinized mucosa that is deliberately given room around the abutments — rather than pinned flat beneath the intaglio — has somewhere to mature into instead of somewhere to be squeezed out of.
PGTG applies that logic to the provisional design itself: the intaglio surface is shaped to sit closely adjacent to the healing tissue, not directly on it. The prosthesis still supports the soft tissue contour it was designed around — it simply stops short of loading it.
Why this wasn’t practical before
The logic behind PGTG isn’t new — the obstacle was always execution time. A conventional analog conversion — relieving the try-in, picking up temporary cylinders in cold-cure acrylic chairside — routinely took one to two hours. Pickup material sitting near peri-implant tissue for that long is also its own contamination risk. Faced with that timeline, the reasonable default was to get to primary closure as quickly as possible, not to leave tissue deliberately unloaded while a prosthesis was finished elsewhere.
Early digital conversion workflows helped, but not enough to change that calculus: roughly 45 minutes to design the conversion, then another 45 minutes to print it — and that was before a lab technician even touched finishing. A well-optimized in-house digital workflow could bring design time down to somewhere around 18 minutes, which is faster, but still not fast enough to comfortably leave a patient with sutures placed and untied while the prosthesis is elsewhere.
The timeline that makes it practical
What changed is the combination of design and print speed now available:
- Design conversion: a Desai Splint case in Exocad converts in roughly 3 minutes; a traditional (non-splint) AoX conversion through RapidArch runs about 2 minutes.
- Print time: current-generation printers such as Dentafab complete the provisional in 8–12 minutes.
- Total: a delivered, screw-retained provisional in well under 25 minutes from the post-operative scan — start to insertion.
That total is what makes PGTG practical chairside. When the prosthesis itself is only minutes away, there’s no longer a real time cost to placing sutures deliberately and waiting for the printer instead of rushing tissue closed around a chairside pickup.
The Desai Shoelace Suture technique
The suturing sequence is what actually creates the PGTG space, and it’s designed to run in parallel with the print rather than adding a separate block of chair time:
- The design is finalized and sent to the printer immediately after the post-operative scan.
- Sutures are placed but not tied while the prosthesis prints — positioned so tissue is held in the intended shape without being cinched down against anything yet.
- Once the prosthesis is printed, cured, and inserted (roughly 15–20 minutes later), the previously placed sutures are tied off around the seated prosthesis — cinching the loops closed the way a shoelace is threaded first and tightened last.
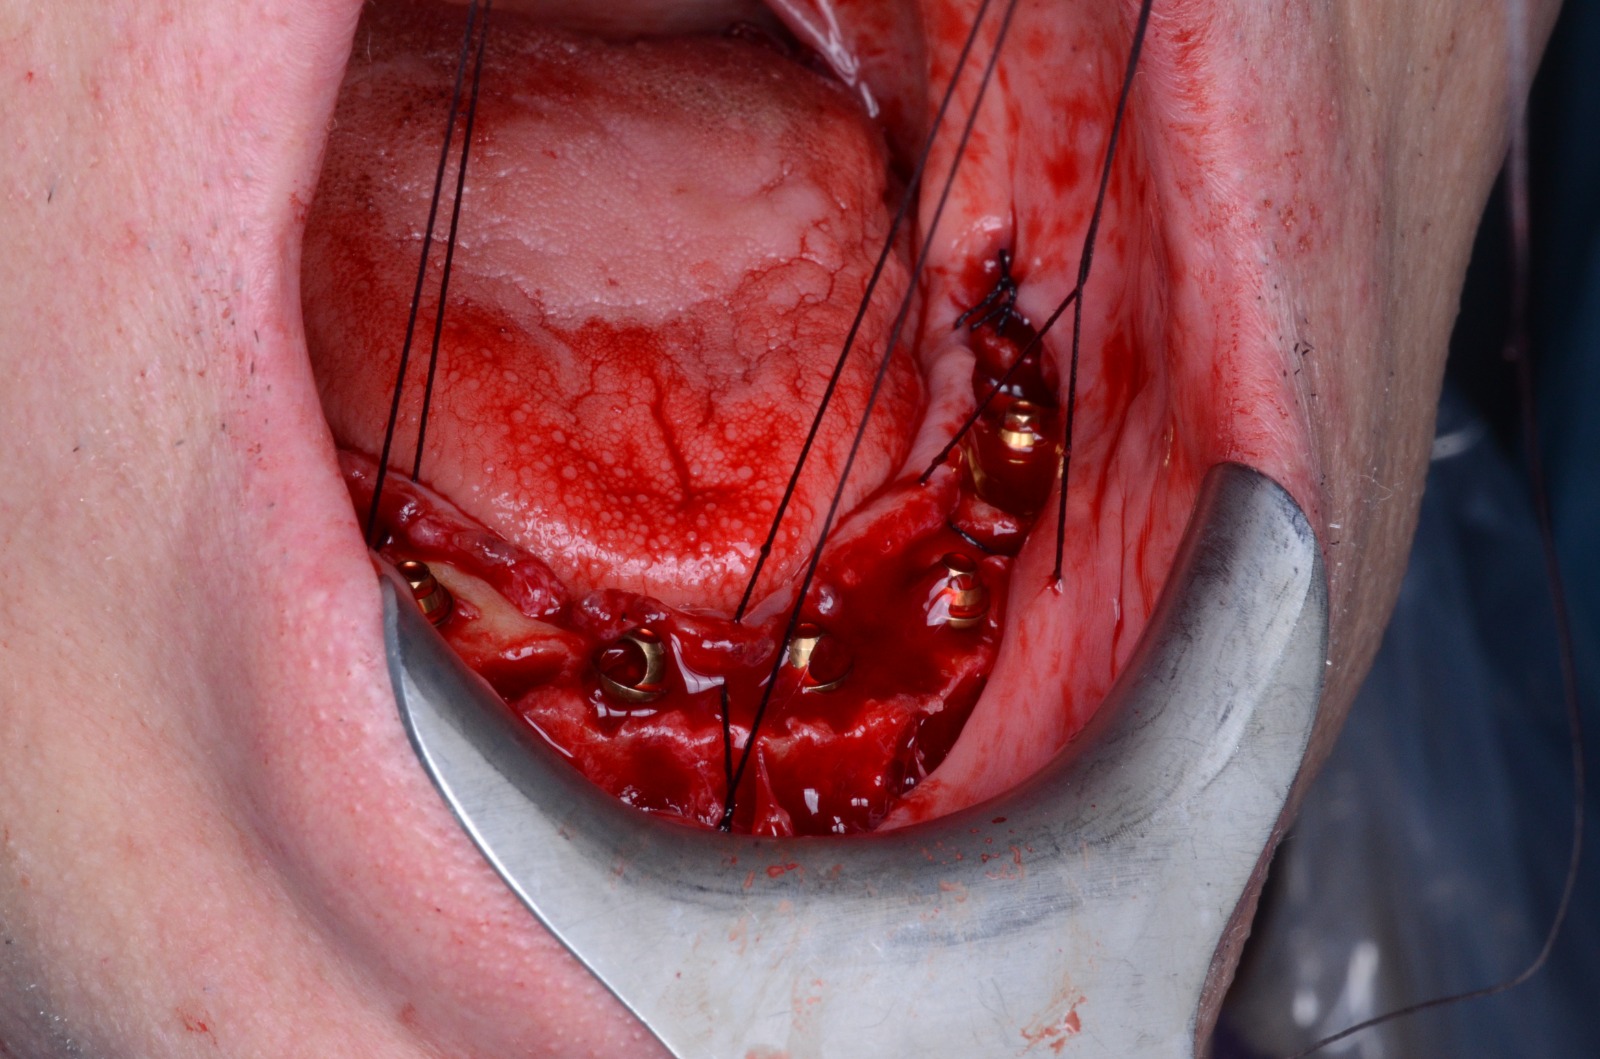
Sequencing it this way means suturing no longer competes with print time on the clock — it happens alongside it, and the final tie-off takes only the few minutes it would anyway.
Clinical rationale
In the author’s case experience, designing and suturing this way has tracked with a few consistent benefits, alongside the obvious reduction in chair time itself:
- Less tissue pressure at delivery. There is no tightly seated prosthesis fighting tissue that is about to swell over the next 24–48 hours.
- More predictable keratinized tissue position. Tissue heals into the space it was given around each abutment rather than being flattened under the intaglio and reshaping itself unpredictably afterward.
- Shorter total appointment time from post-operative scan to a sutured, delivered provisional — which by itself tends to mean less swelling and a more comfortable recovery.
These are case observations, not the results of a controlled study — treat them as a rationale to evaluate on your own cases, not a guaranteed outcome.
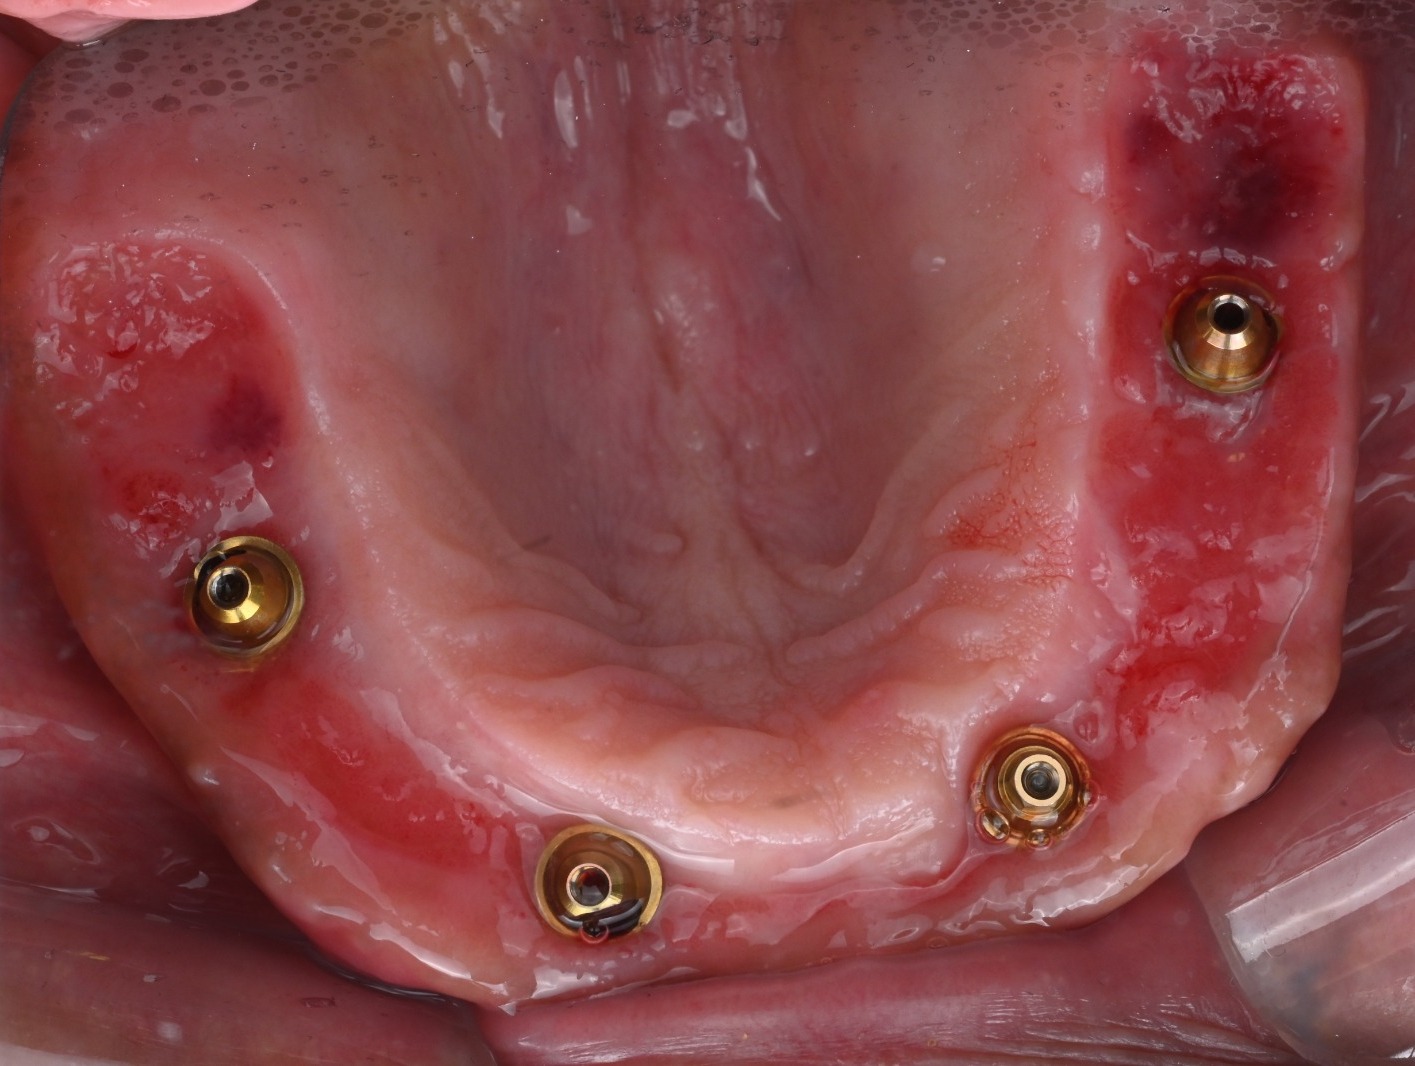
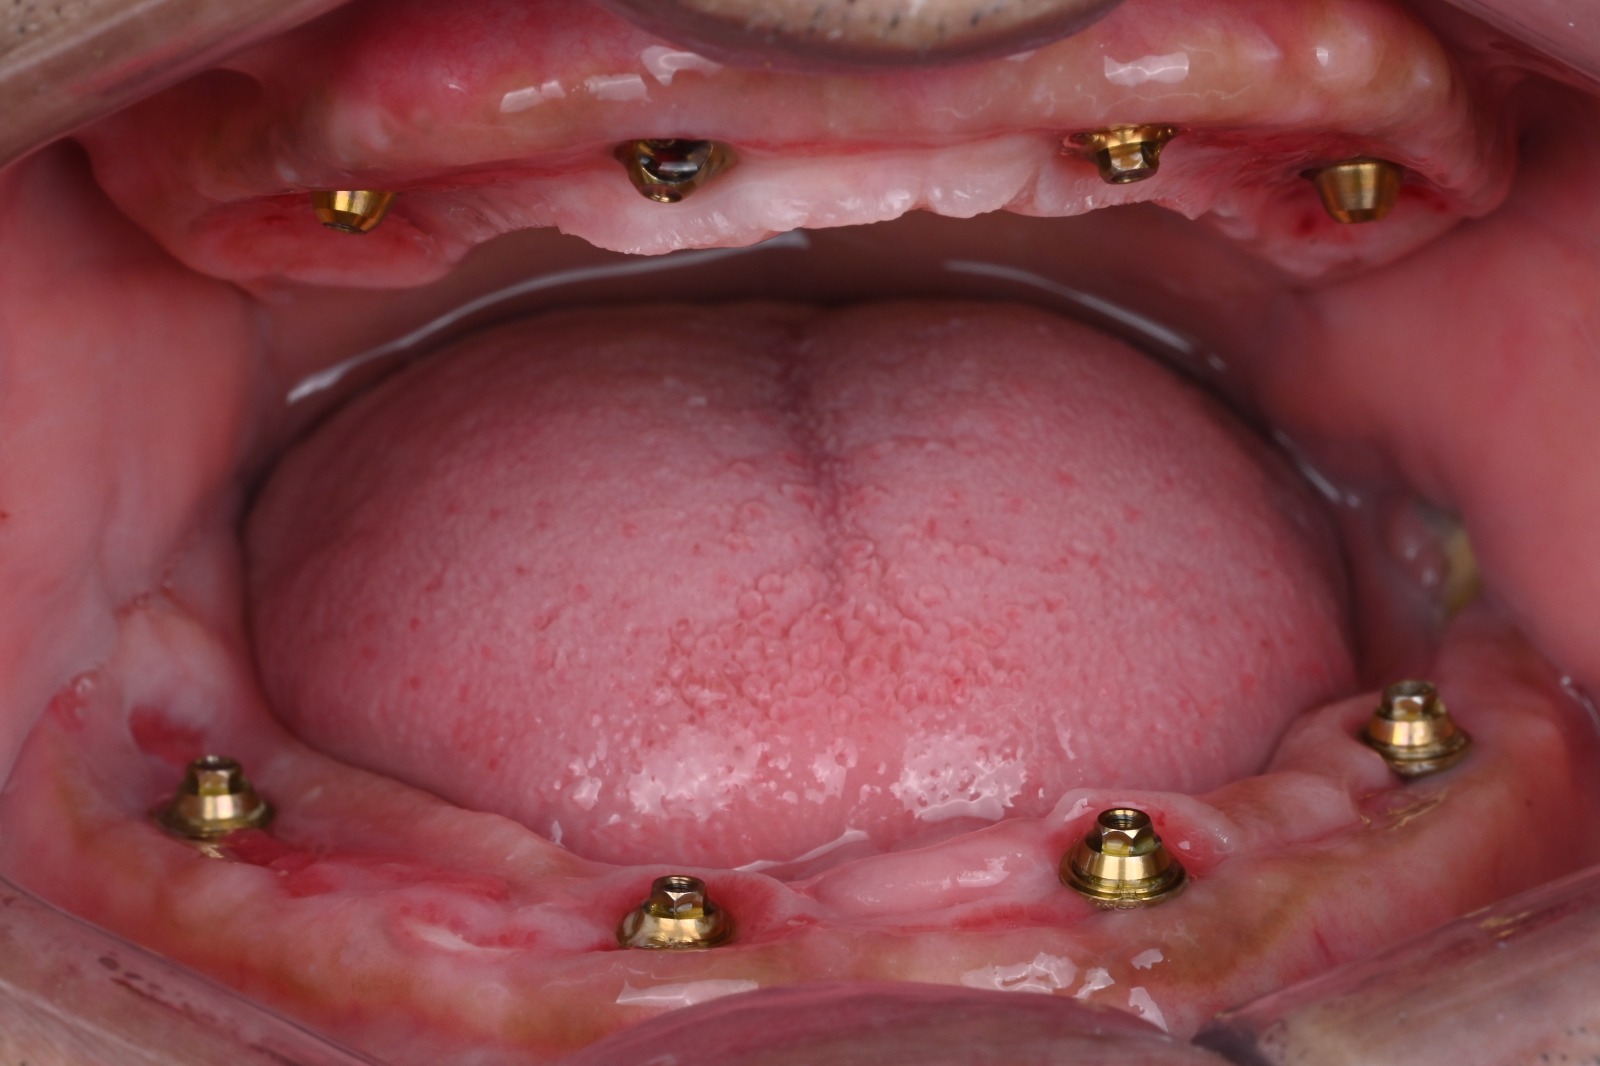
Healing at 2.5 weeks and 3 months
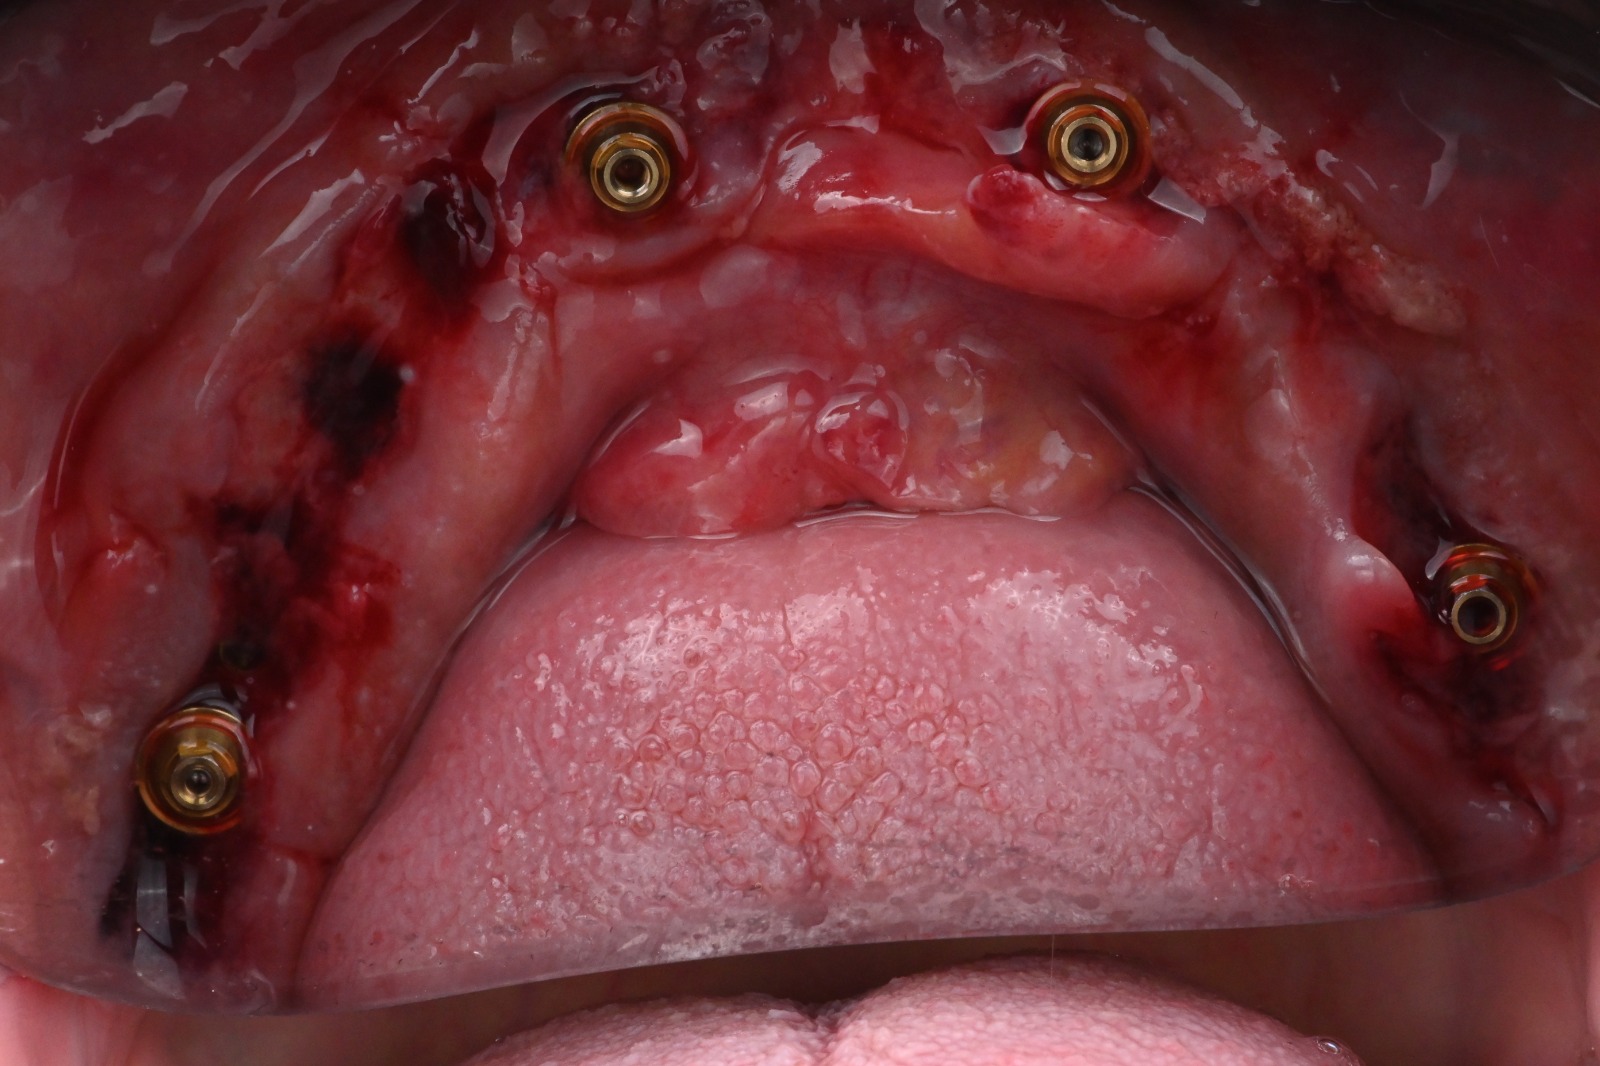
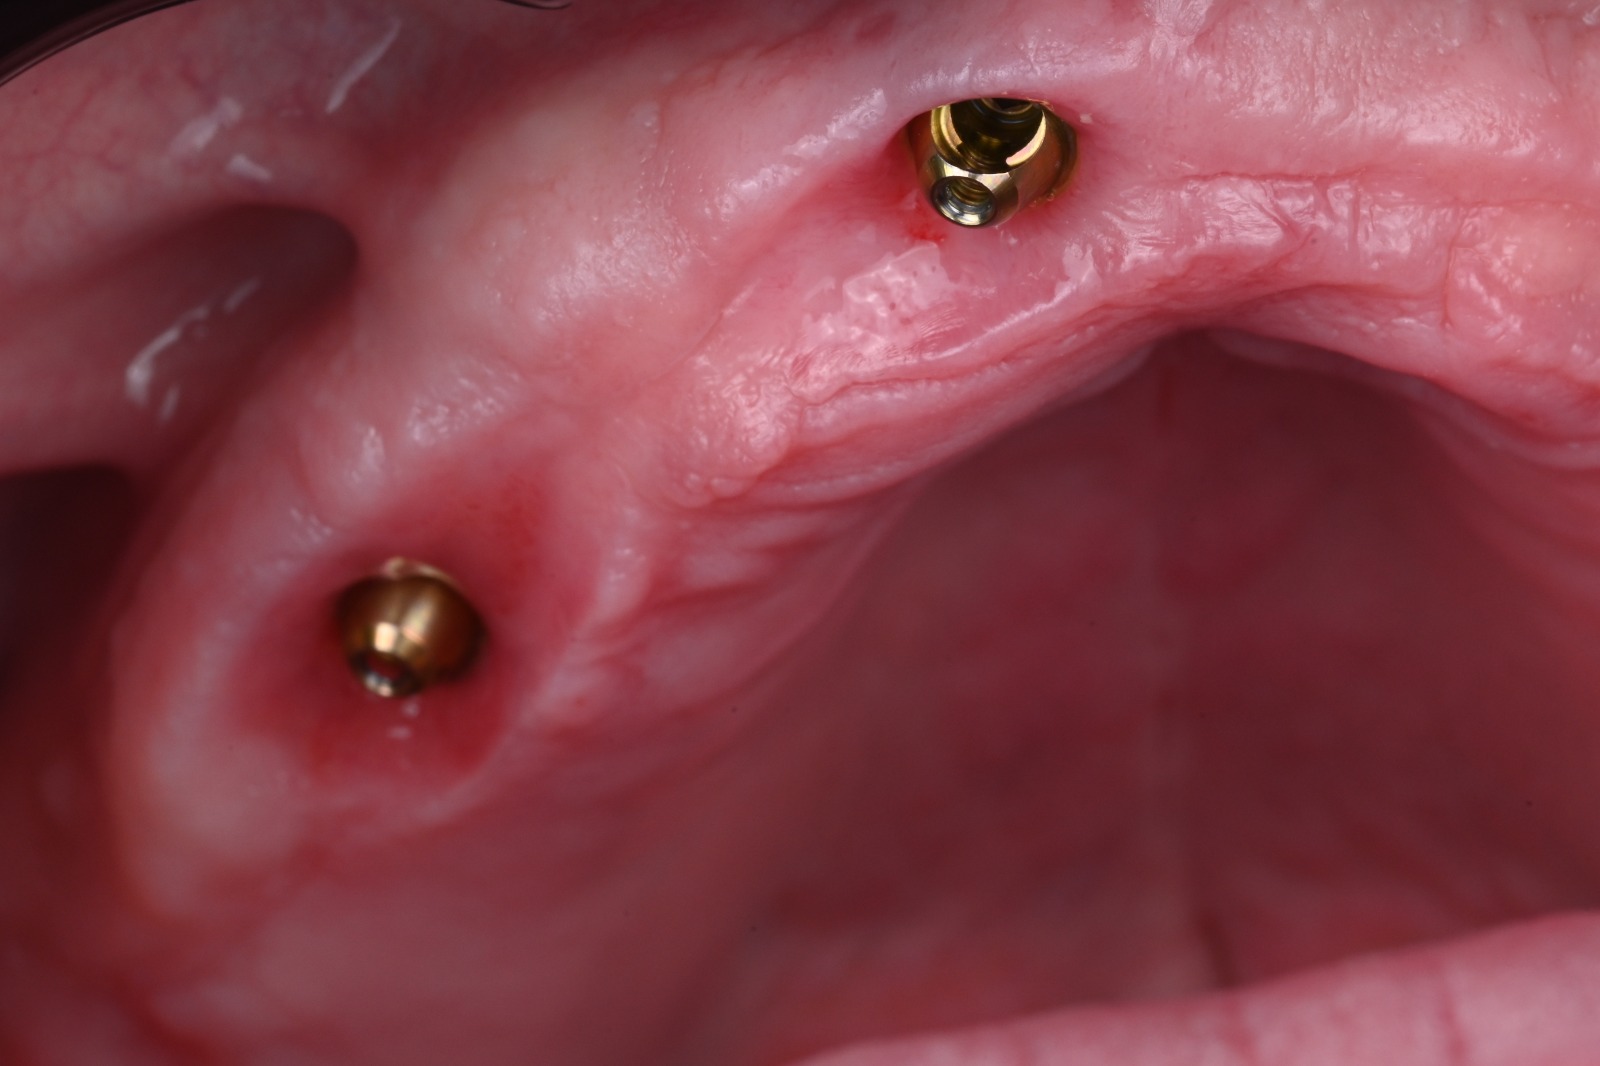
The photos below are from the same case — the first three taken roughly two and a half weeks after surgery, the last at three months. Paired side by side to keep the sequence in one view.
What it takes to run this reliably
The technique is only as fast as its slowest link. That means:
- A digital conversion workflow that reliably finishes in a few minutes — a Desai Splint case in Exocad, or a traditional AoX conversion through RapidArch if the case isn’t splint-based.
- A printer fast enough that the print cycle, not the suturing, sets the pace — current-generation units are in the 8–12 minute range.
- A fast-cure resin matched to that print speed. (A next-generation resin, Nanoceram, is in development at the time of writing and not yet released — worth watching for, not yet a dependency.)
- Comfort placing sutures before the prosthesis exists, and tying them off around it afterward — the Desai Shoelace sequence above.
Where this goes next
Pairing PGTG with an immediate zirconia workflow is a natural next step and a large enough topic to deserve its own article — that will follow separately. For now, the practical question worth sitting with is simpler: if a delivered, sutured provisional is realistically achievable within 25 minutes of the post-operative scan, is there still a reason to design the intaglio to sit tight on the tissue you’re trying to preserve?
This article is provided for general educational purposes for licensed dental professionals. It is not clinical, legal, or regulatory advice, and it does not replace professional judgment — treatment decisions rest with the treating clinician.